
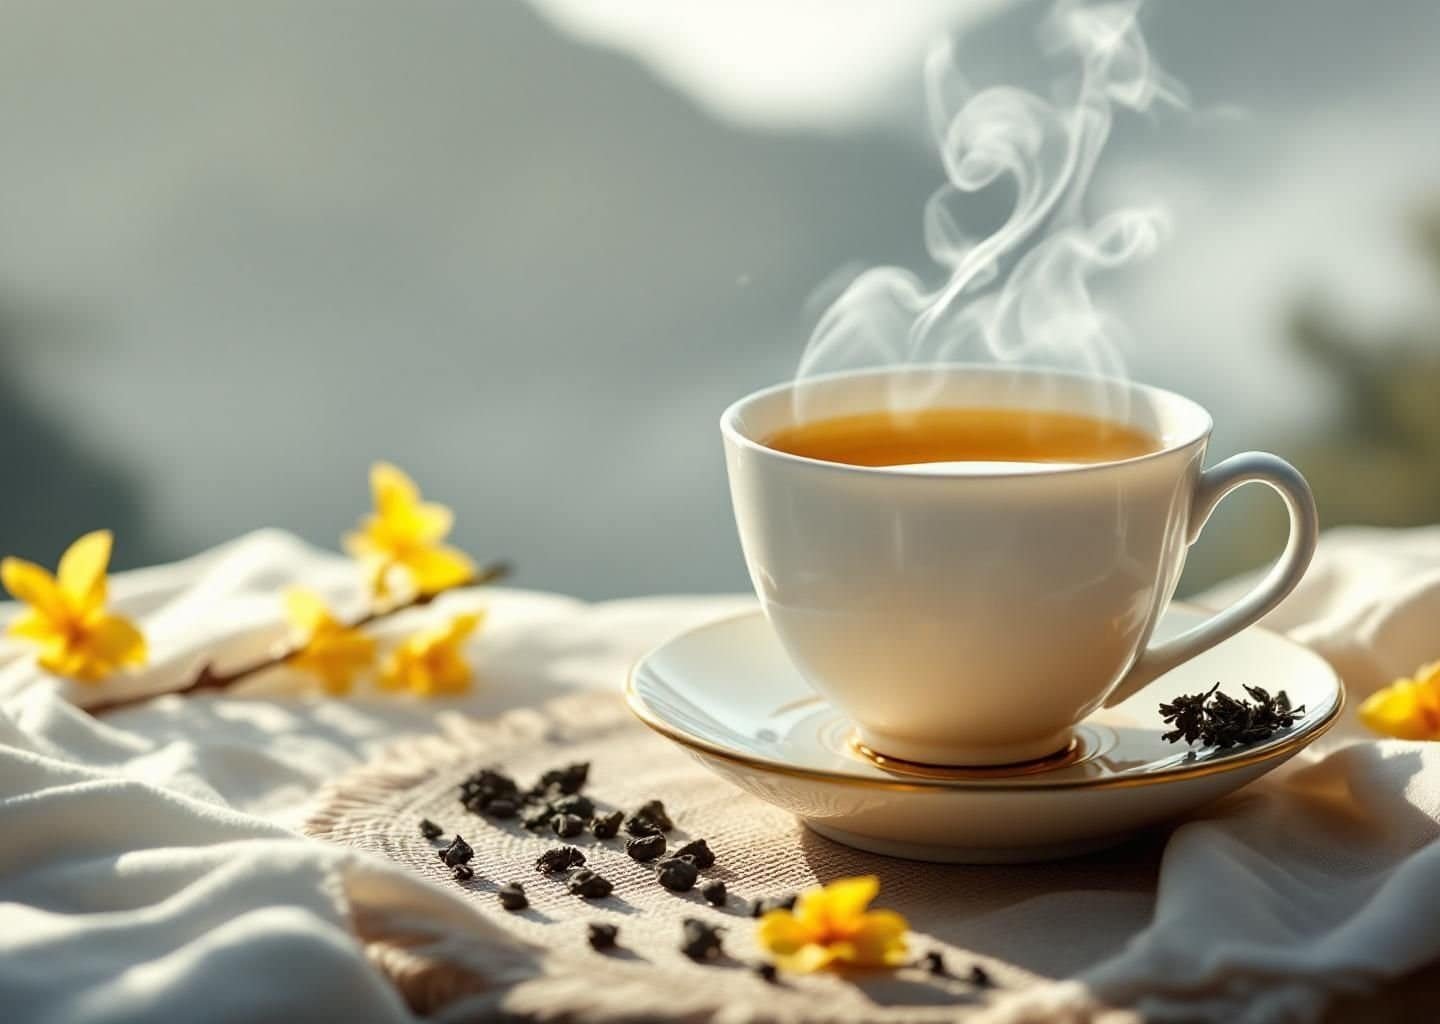
Tea photography lives in a hard intersection: warm liquids, glossy ceramics, drifting steam, and a subject that disappears the moment it cools. Whether you’re shooting your home gongfu setup or documenting a working tea estate at origin, a handful of lighting, styling, and timing tricks will lift your images from “phone snapshot” to portfolio-worthy. This guide covers the gear, technique, and post-processing approach that experienced tea photographers actually use.
Table of Contents
Quick Overview: Tea photography requires natural window light, a fast lens (f/1.8–f/2.8), a tripod for steam shots, and simple styling. Use side-lighting for texture, shoot at 45° for depth, and keep post-processing minimal to preserve authentic color. This guide covers gear, camera settings, composition, and editing for stunning tea photos.
Gear: What You Actually Need
You can shoot publishable tea photography with surprisingly little equipment. The priorities, in order:
- A camera with manual aperture control: Any modern mirrorless (Sony A6400, Fuji X-T30, Canon R50) or even a recent flagship phone (iPhone 15 Pro+, Pixel 8 Pro) works. The bottleneck is light, not megapixels.
- One fast prime lens, 35–50mm equivalent: The classic “nifty fifty” gives you a natural perspective for tabletop and ceremonial scenes.
- A small tripod or beanbag: Indispensable for steam shots and low-light café interiors.
- A reflector or white foam board: Bounces window light into shadows. Cheaper and better than any artificial light for most tea scenes.
- A diffuser: Direct sun through a window is too harsh. A simple white shower curtain or pop-up diffuser softens it.
You do not need a ring light, a studio strobe, or expensive macro gear. Most iconic tea images are shot in natural window light.
Lighting: Use the Window
The single most important decision in any tea shoot is light direction:
- Side light (90° to the subject): The default. Reveals the texture of leaves, the swirl of liquid, and the curves of pottery. Use a reflector on the shadow side to control contrast.
- Backlight (behind the cup): The dramatic option. Makes steam glow and shows the translucency of pale teas like silver needle or sencha. Add a reflector or white card in front to keep the foreground from going inky.
- Front light: Avoid. Flattens everything and kills the steam.
The best window for tea photography in the northern hemisphere faces north — soft, indirect, neutral light all day. South-facing windows work in early morning or late afternoon; midday direct sun is too harsh without diffusion.
Camera Settings That Work
- Aperture: f/2.8 to f/5.6 for tabletop intimacy; f/8 to f/11 if you need everything in focus (e.g., a tea ceremony tray with multiple objects).
- Shutter speed: 1/125s or faster handheld; tripod-mounted, drop to 1/30s for richer light gathering.
- ISO: 100–400 in good light; up to 1600 in dim café interiors.
- White balance: Custom-set on the white of a teapot or a sheet of printer paper. Auto white balance gets fooled by warm liquids and yellow lamps.
Styling: Less Is More
Tea photography rewards restraint. A typical strong frame contains three to five elements: cup, teapot, a small dish of leaf, one textile, and one small “interest” element (a flower, a stone, a hand). Anything beyond that competes for attention.
Surface texture matters more than colour. Linen, raw silk, weathered wood, and stone all photograph beautifully. Glossy plastic and printed patterns rarely do. If you can shoot on a single piece of natural-fibre textile or unfinished wood, you’ll cover 80% of the tea photography aesthetic.
Capturing Steam
Steam is the most photogenic but also the most fleeting element. Practical tips:
- Boil water hotter than you’d brew with. 95–100°C produces visible steam; 80°C barely does.
- Backlight is non-negotiable. Steam against a dark background and lit from behind glows white. Lit from the front it vanishes.
- Use burst mode. Steam patterns change in milliseconds. Fire 8–12 frames per pour and keep the best.
- Shoot quickly. Pour, count “one Mississippi,” shoot. After about 8 seconds the steam thins out.
On-Location: Tea Estates and Ceremonies
Photographing at origin or during a formal ceremony adds an etiquette layer to the technical one:
- Ask permission first. Always. At Japanese tea ceremonies (chanoyu), check whether the host allows photography at all — many do not.
- Mute your shutter. Silent electronic shutter on a mirrorless body is ideal during a ceremony.
- Stay out of the work. On an estate, follow the farmer’s lead. Don’t direct, don’t restage.
- Shoot hands, not faces. Hands working tea — picking, rolling, pouring — are usually more telling and more publishable than portraits.
- Bring prints back. If a farmer or ceremony master let you photograph them, send a print or a printed book afterwards. It’s how you get invited back.
Composition: The Three Reliable Shots
- The overhead (flat lay): Camera directly above the table. Works best with multiple small objects on a single textile.
- The 45° three-quarter: Classic editorial angle. Shows the cup’s contents and the teapot’s profile in one frame.
- The close-up macro: Single subject — leaves unfurling in a glass, a swirl of liquid, the surface foam on whisked matcha.
If you walk into any shoot with these three angles in mind, you’ll come out with a usable set.
Post-Processing: Keep It Honest
Tea photography is naturally warm-toned and that’s part of its appeal. Resist the urge to over-saturate. A reliable Lightroom or Capture One starting point:
- Exposure: Bring shadows up gently (+15 to +30); pull highlights down to recover the cup’s rim and any reflections.
- White balance: Slight warm shift if shooting cool window light; cool shift if shooting tungsten room light.
- Clarity / texture: Add 10–15% to texture; avoid clarity, which roughens steam.
- Colour: Desaturate yellows by 5–10 to prevent the tea liquor from glowing radioactive.
Ready to Capture Your Next Tea Moment?
Whether you’re documenting a Japanese tea ceremony or your morning matcha ritual, the right technique transforms every cup into art. Explore more tea photography and travel guides to plan your next visual tea adventure.
Frequently Asked Questions
Do I need a professional camera for tea photography?
No. A modern flagship phone, a recent mirrorless camera, or even a used Fuji X-T20 will all produce publishable tea images. Light and styling matter much more than the sensor. Invest in a tripod and good window light before upgrading the camera body.
What lens is best for tea photography?
A 35mm or 50mm equivalent prime is the most versatile choice — wide enough for tabletop scenes, tight enough for single-cup details. A 90mm macro is useful for close-ups of leaf and surface foam, but it’s a specialised second lens, not a starter.
How do I photograph steam without losing it?
Backlight the cup against a dark background and shoot in burst mode within 5–8 seconds of pouring near-boiling water. The steam glows against the dark backdrop and your burst captures the most photogenic shape. Front-lit steam against a bright background almost always disappears.
Is natural light always better than artificial light for tea photos?
For most home and editorial work, yes — north-facing window light is hard to beat. Artificial light becomes necessary for commercial or product shoots needing absolute consistency, or for low-light café environments. Even then, a single diffused LED panel mimicking window light is enough.
How do I photograph at a tea ceremony respectfully?
Always ask permission from the host before the ceremony starts, not during it. Use silent electronic shutter if available. Stay seated, shoot from your assigned position, and prioritise hands and objects over faces. If photography is declined, accept it — the ceremony itself is the experience.